I get asked a lot on markets what the process looks like, how a knife goes from a bar of steel to a finished object. Here is a single build, step by step.
The steel
I mainly make san mai and other multi layered billets, but the overall process is the same for most knives. To save time I stack several billets and weld them in one go.
I usually start with 3 mm 80CrV2 flat bar, with a 2 mm 15N20 flat bar on each side. I cut the rough length I need and clean up the ends. At this point the steel is annealed, so it is soft enough to file and nowhere near as hard as the finished knife will be.
Then I clean the steel really well with pure acetone. I never touch it without gloves, and I wipe it down with a lint-free cloth so no fibres stay behind.
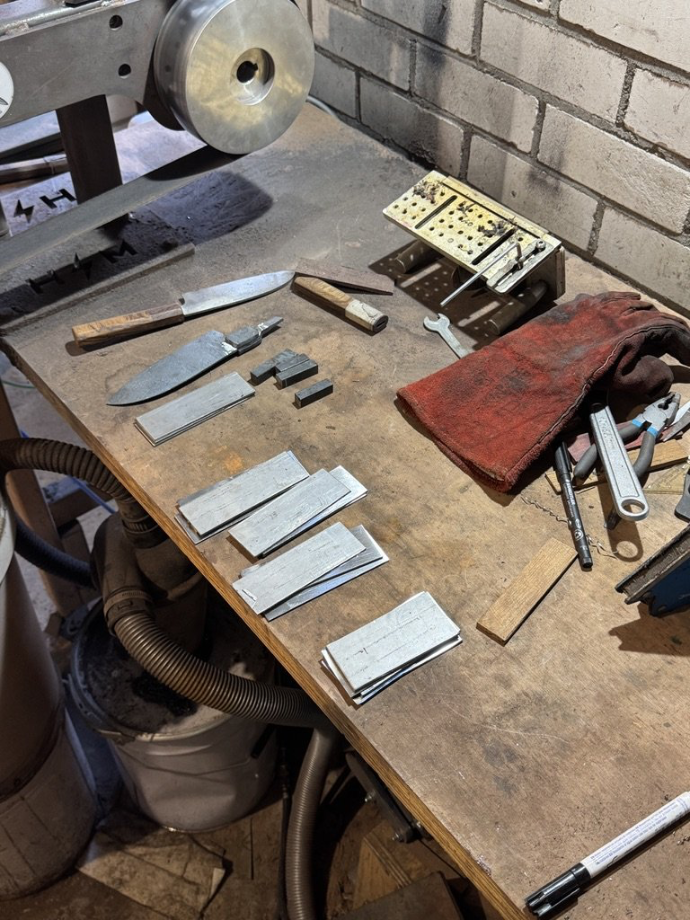
Then I heat the stack until it is almost white and press it quickly in my forge press until it becomes one solid billet. I do this in two rounds, and after the second I know it is welded.
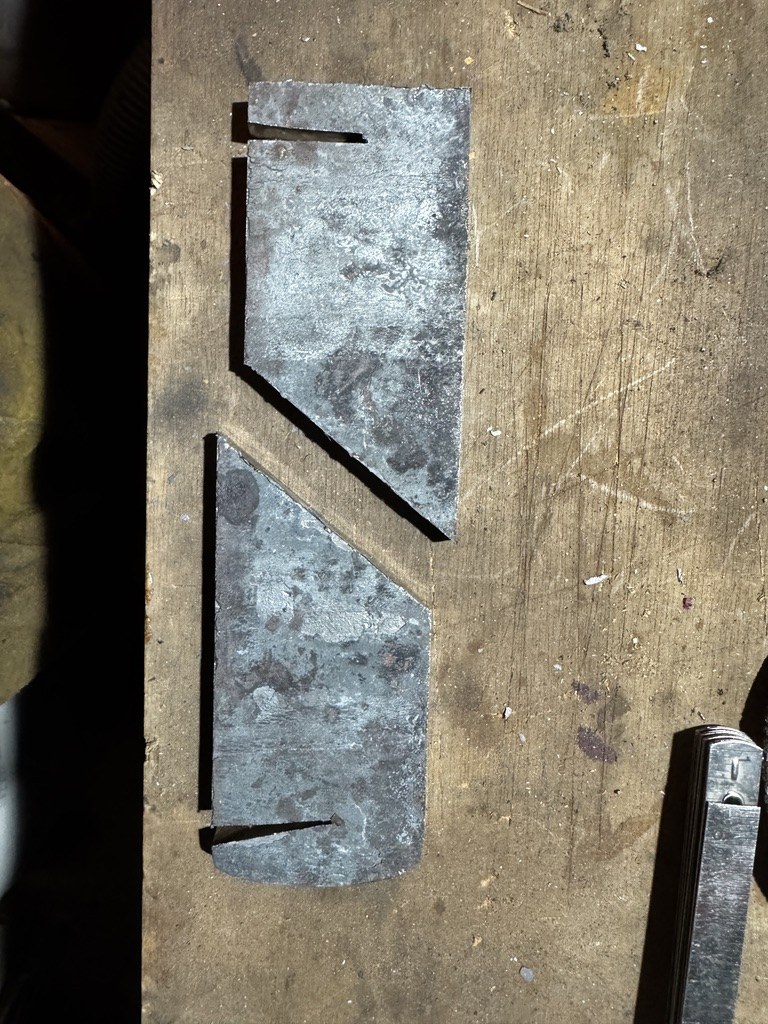
Then I let it cool, cut the billet shapes out and get the billets ready to be forged into knife shapes.
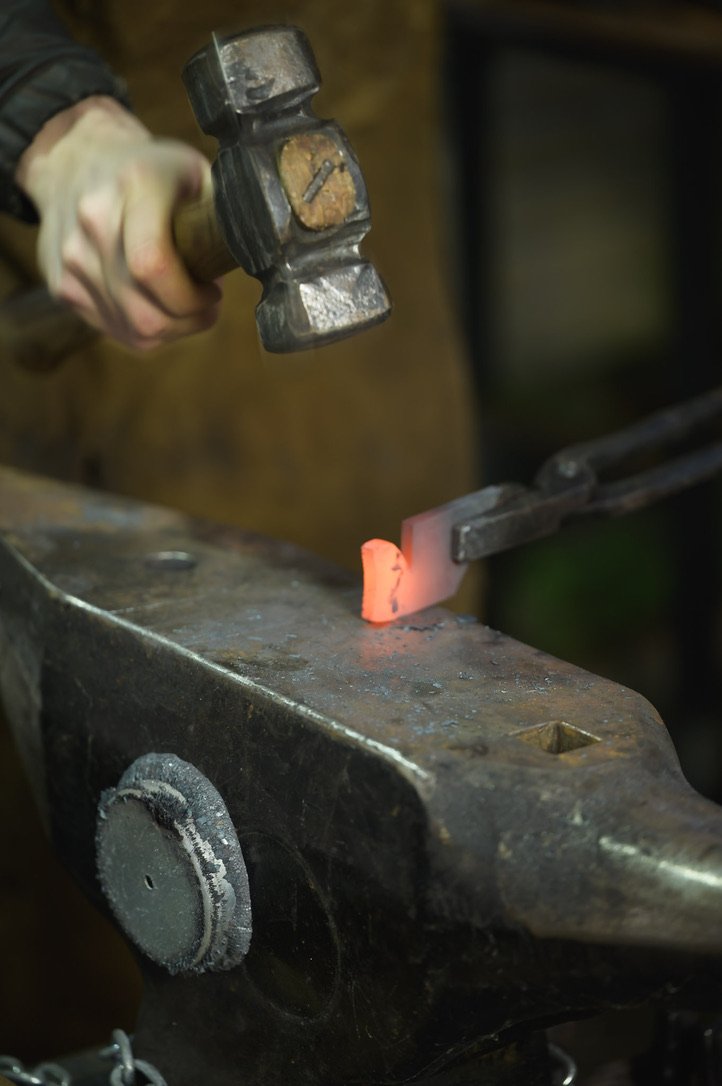
The first thing I do when making the blades is forge out part of the tang, because I need a good grip when I forge the blade.
Forging
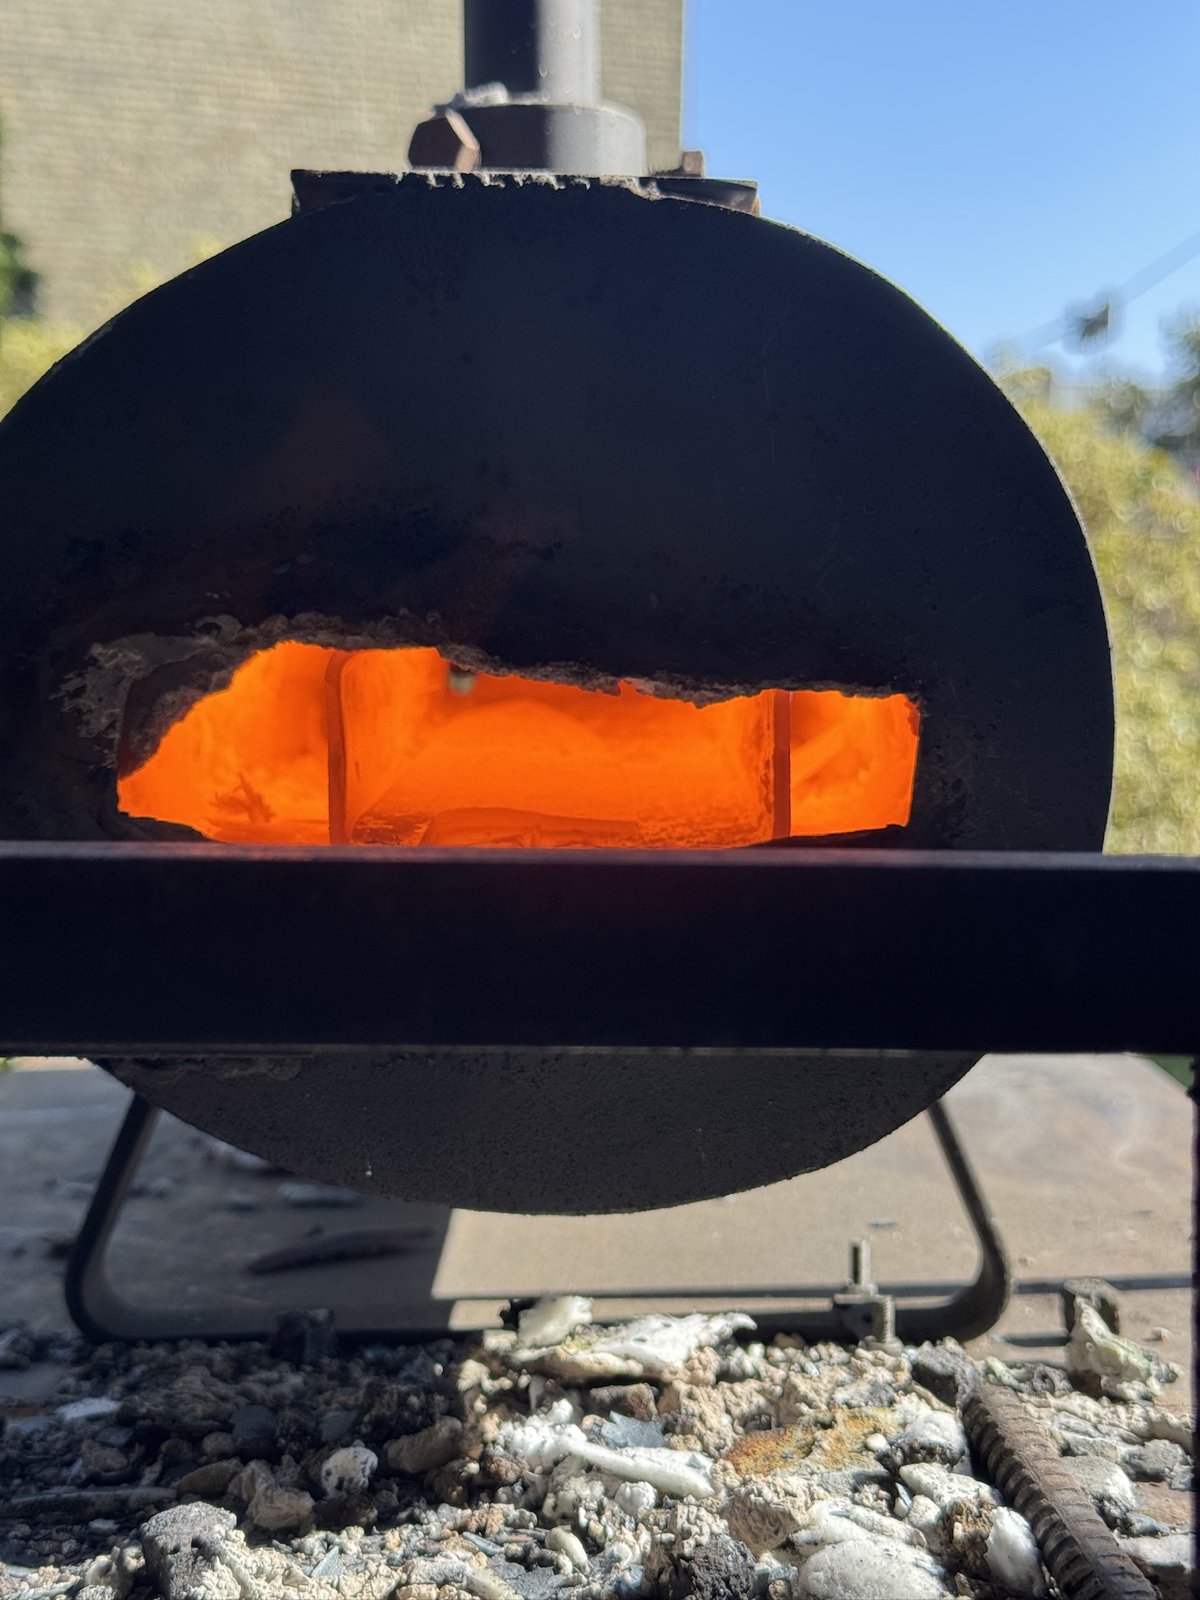
The bar goes in the forge. When it reaches working temperature, a bright orange of around 900 to 1000°C, I start moving it under the press and hammer. I first shape the general outline of the knife.
Then I forge out the distal taper, drawing out the steel on either side so it starts to taper toward the edge. This thins the blade and lengthens it. The blade should be thicker at the heel and thinner at the tip, which improves the handling and the feel.
After that I forge in the bevels, using the reverse banana method to get the knife in shape.
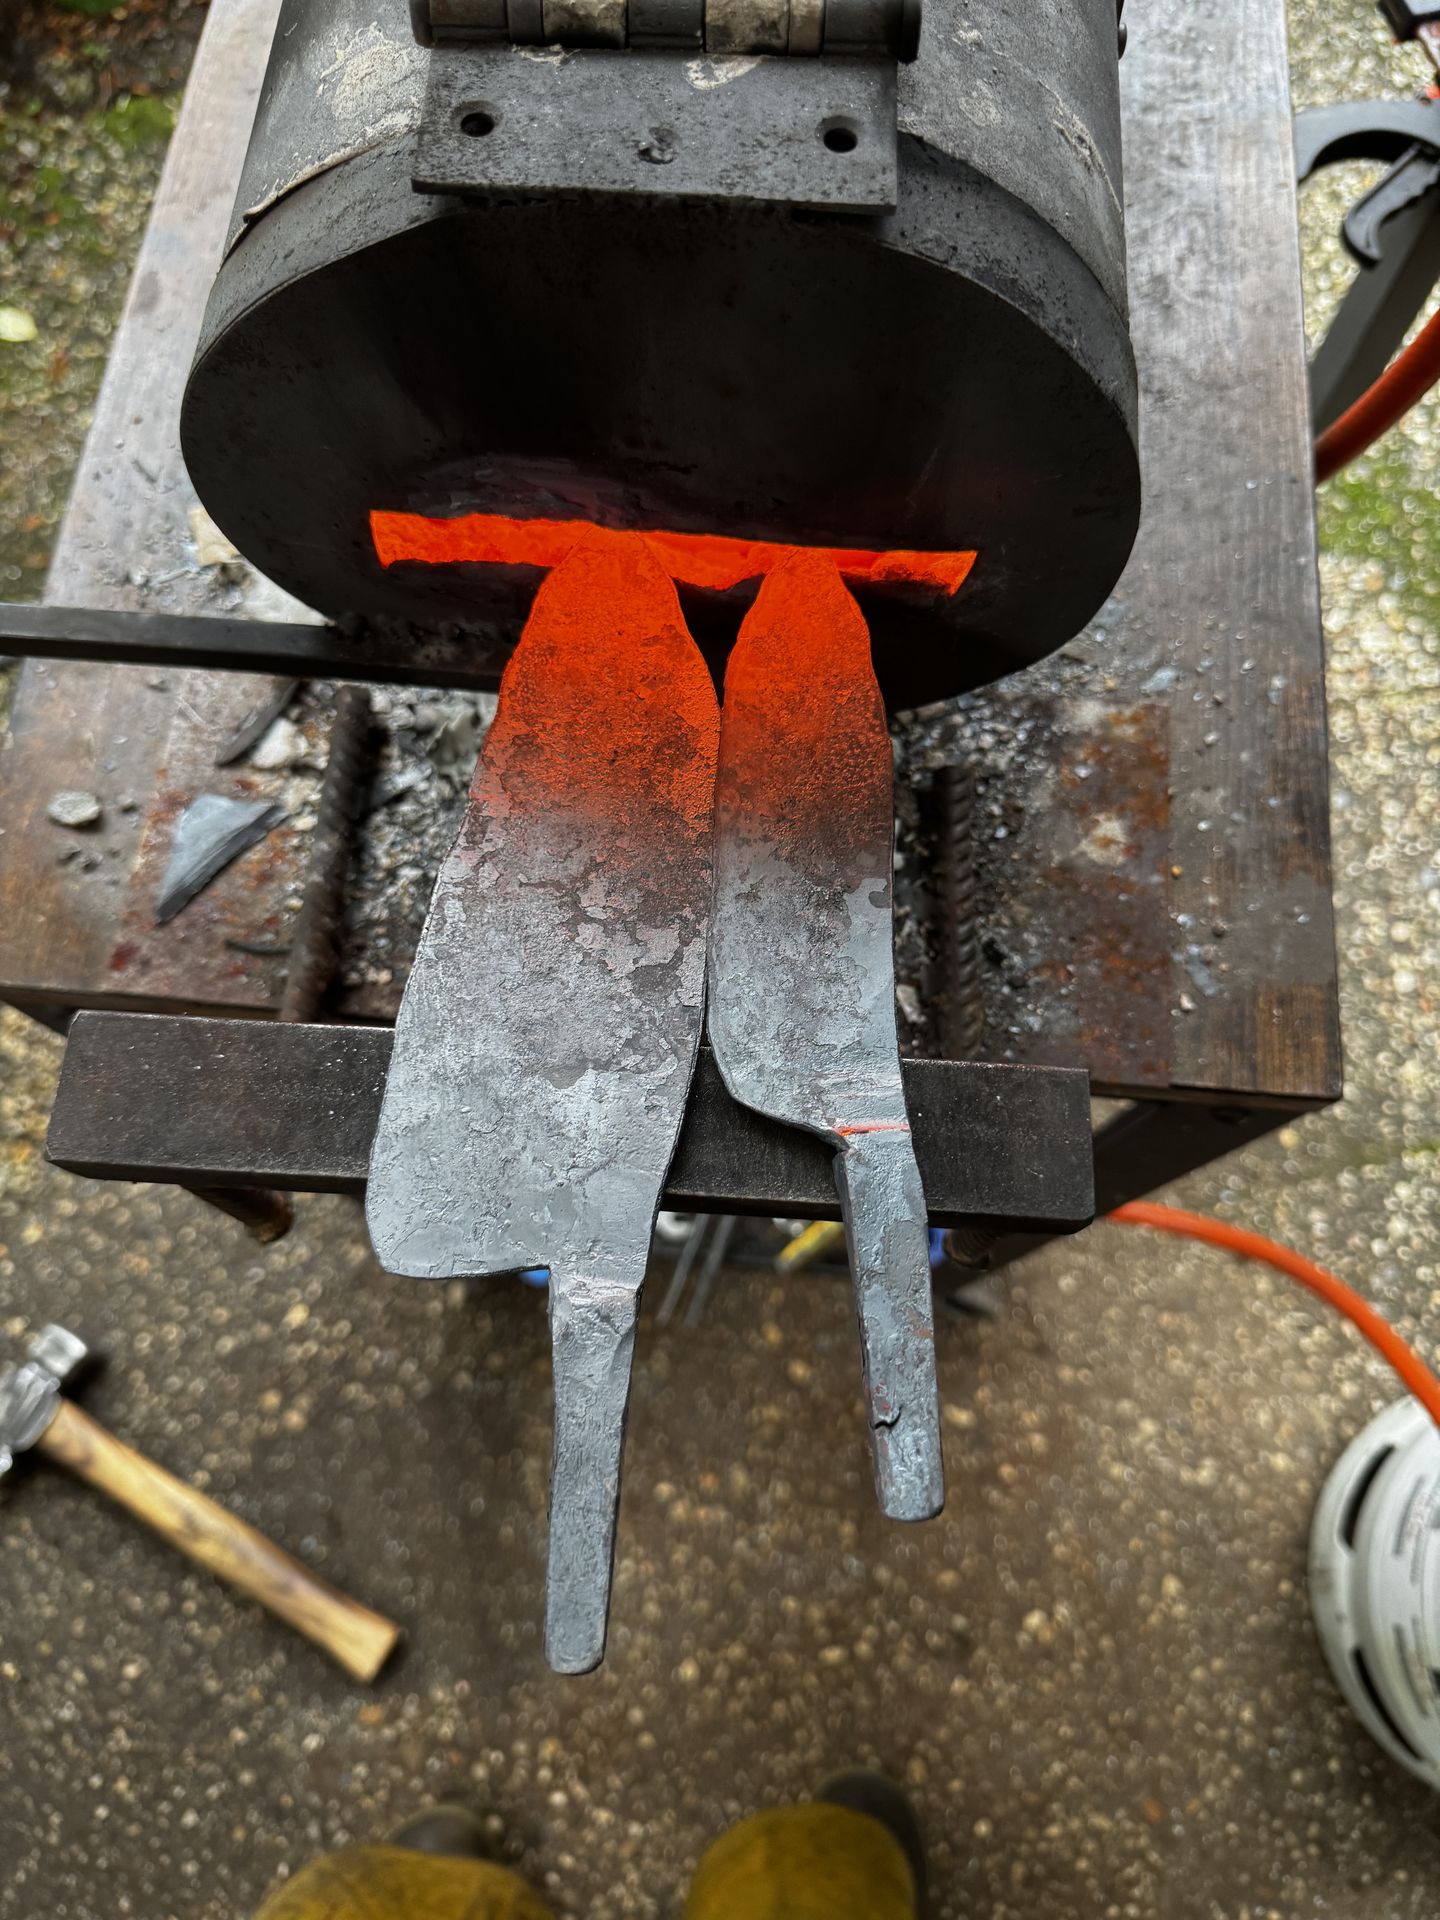
I set the profile at the forge too: the shoulder, the length of the blade relative to the tang and the rough shape of the tip. Nothing is precise yet, but the skeleton is there.
Once the shape is right, I put the blade in the oven, heat it to around 900°C and let it air cool, three times. This relieves the stress from forging and evens out the grain structure before the grind. Eventually I want to do this in an electric oven, with more control and programming options.
Grinding
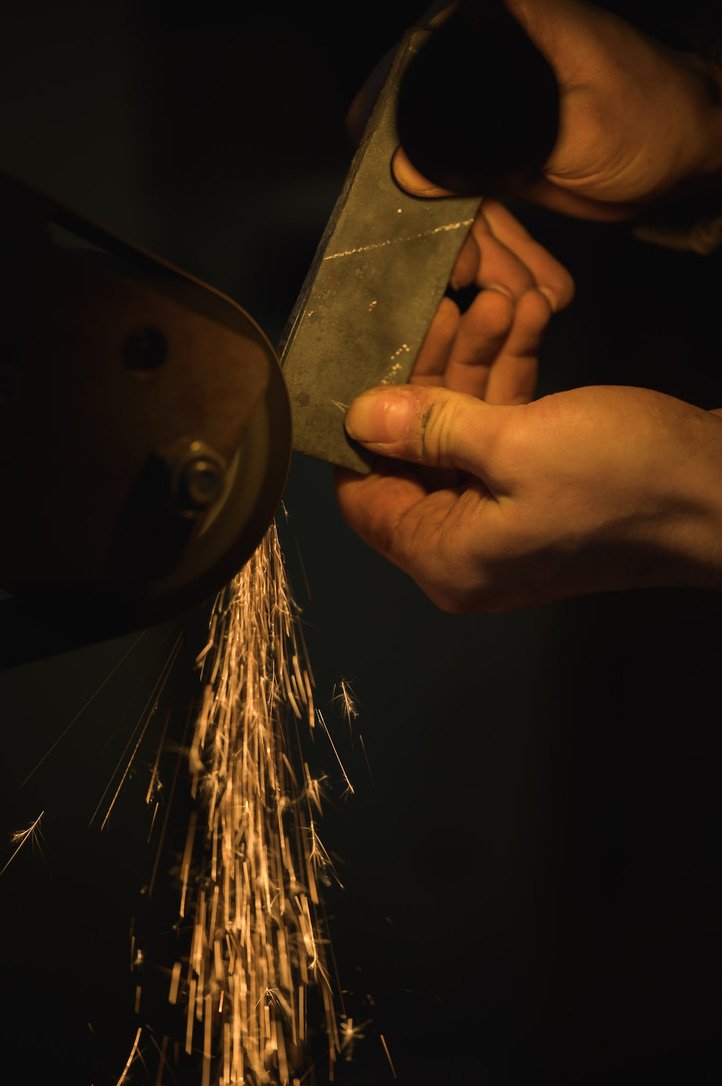
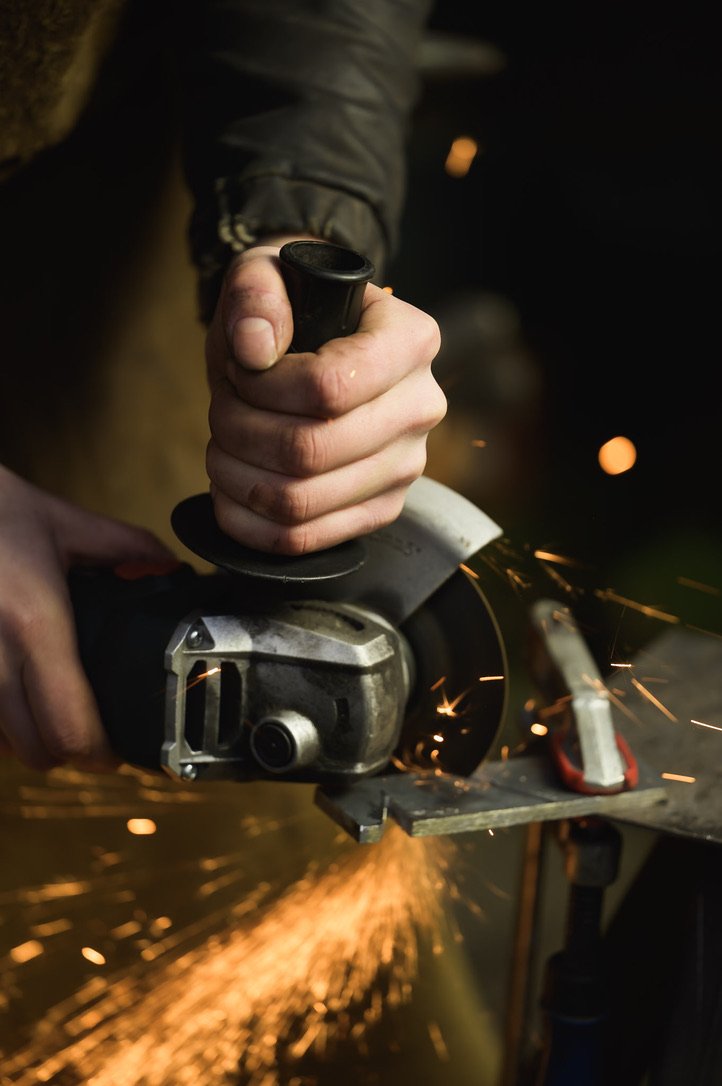
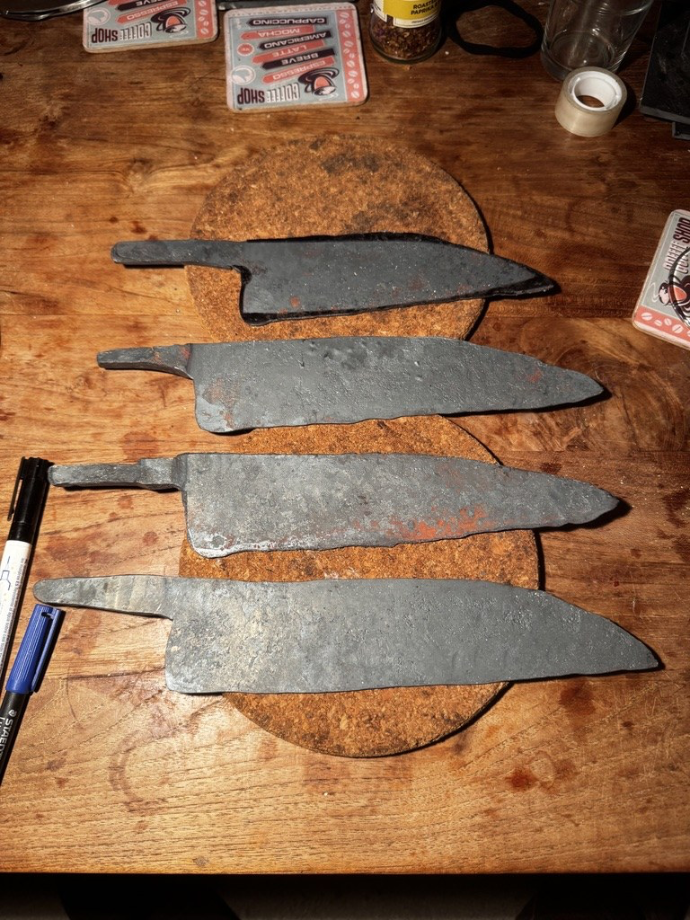
I cut the profile out first with the angle grinder, then clean it up on the belt grinder. Then come the bevels. This is where the geometry of the finished blade gets set precisely: the thickness behind the edge, the height of the bevel and the angle of the grind.
This takes time and is not forgiving, because material you remove cannot go back. I leave the blade slightly thicker than finished at this stage. What I take off after heat treat depends on how much scale and decarburisation I need to remove.
Heat treat
Into the kiln at 840 to 880°C. A 15 minute soak makes sure the temperature is even through the steel, then the blade goes straight into warm quenching oil. The quench has to be quick and straight, because any hesitation introduces warp.
Out of the oil, the blade goes straight into a clamp to reduce warping. After that I clean it with water and soap and put it in the tempering oven at 180°C for two cycles of two hours. This brings the hardness down from brittle to usable, around 59 to 60 HRC.
Post-heat treat grinding and finishing
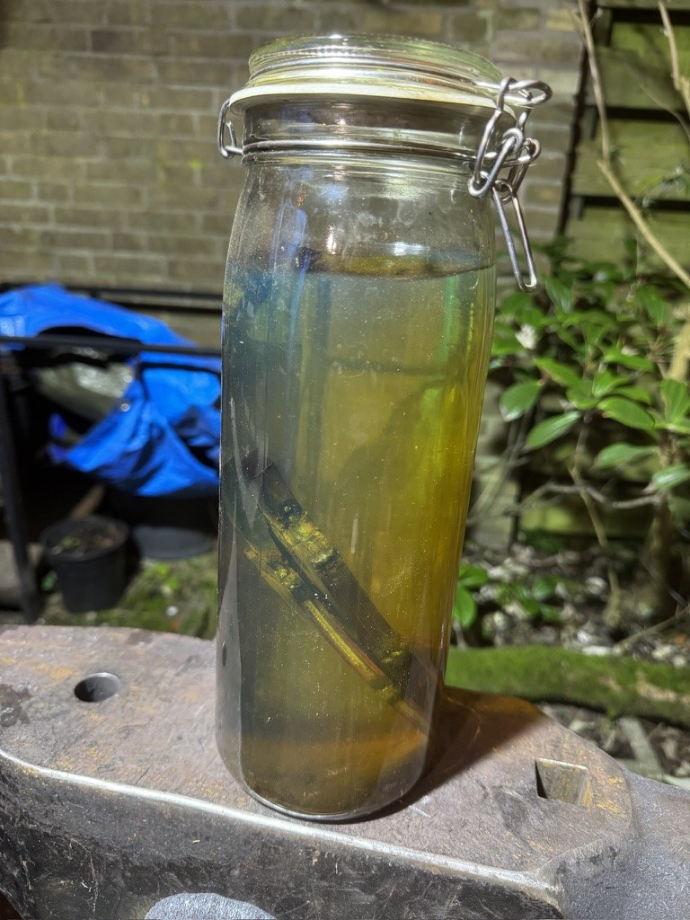
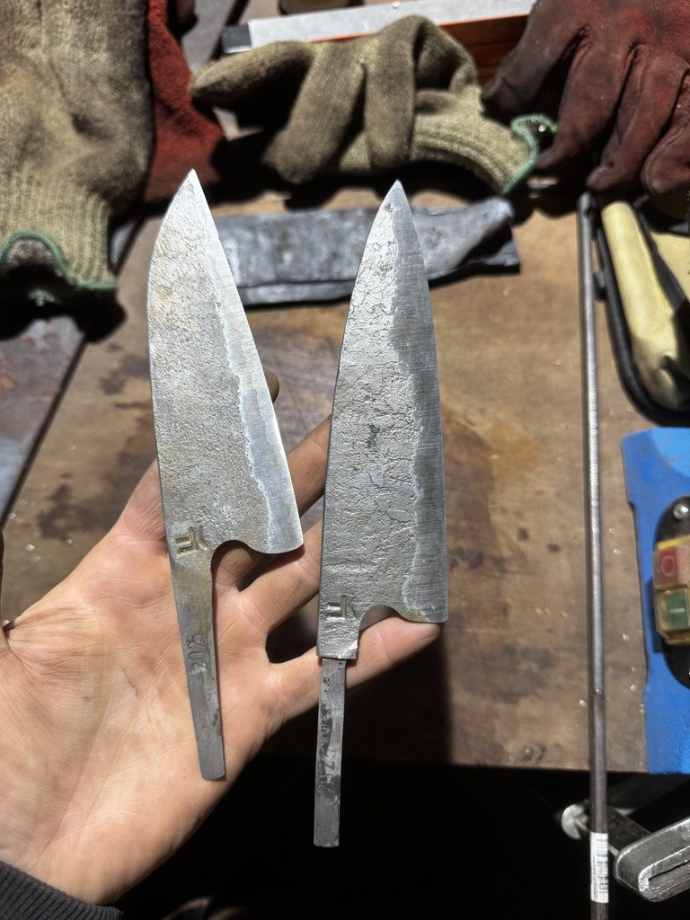
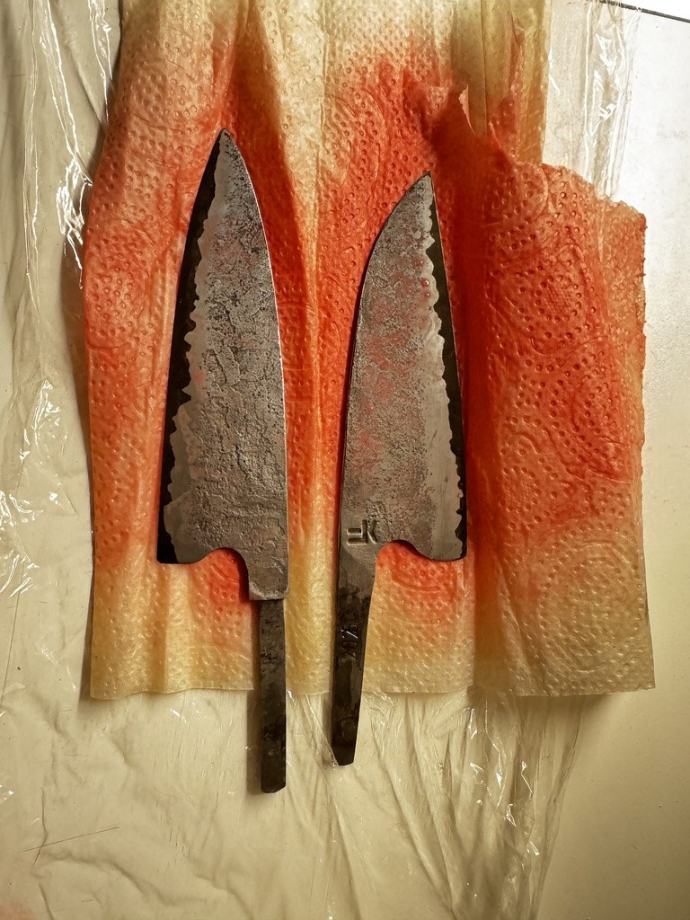
Then I place the hardened blades in vinegar for 48 hours. This dissolves the scale and makes grinding less harsh on the belts.
After that the edge geometry gets refined. This final grind sets how the knife actually cuts. I work the scratch pattern from the belt down through finer grits until the blade has the finish I want, either satin or taken further toward a mirror on the flat.
I go up to 400 grit on the belt grinder, after which I work my way up from 120 grit with Bell stone oil stones. These are grinding stones that I use instead of sandpaper.
Handle
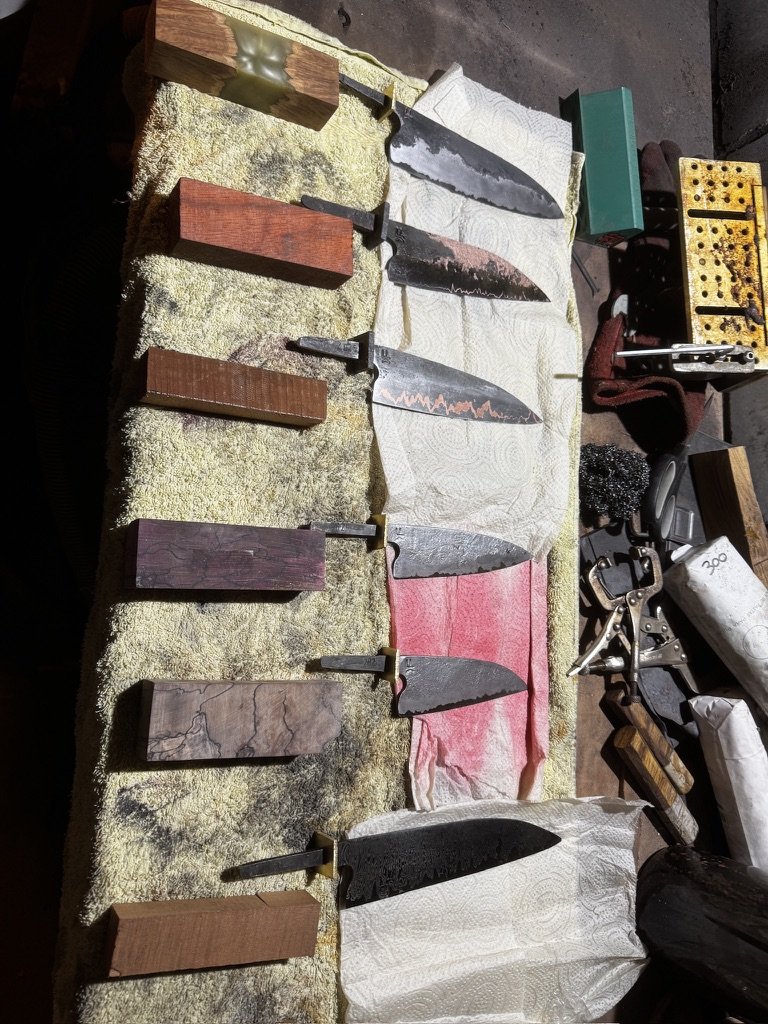
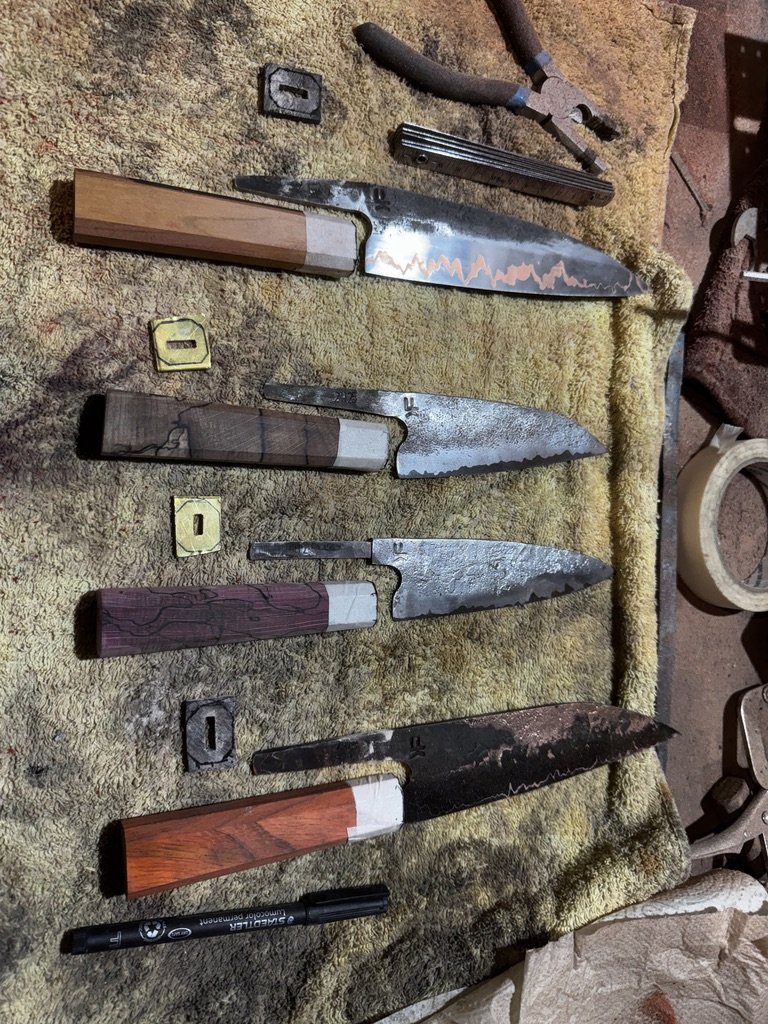
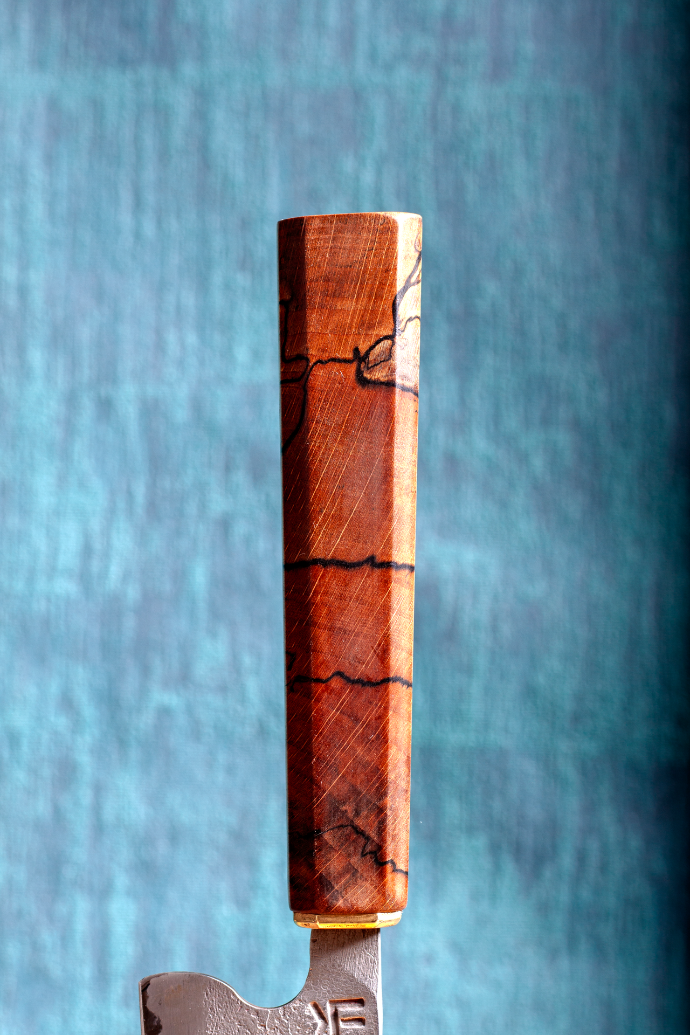
I cut, drill and shape the handle material to fit the tang. I generally make octagonal wa handles with a hidden tang, so a single piece of wood or other material gets drilled through.
Then I make a dowel and use it to check how straight the blade sits in the handle. I adjust the dimensions of the handle based on this, so the handle is always perfectly in line with the blade.
After grinding the handle with my VanDelftCraft wa handle jig, I hand sand it up to 1200 grit. Then I oil it for three days with Osmo food safe transparent oil. When it is dry, I attach it to the tang with epoxy and clamp it for 24 hours.
Then comes sharpening. I grind the edge to a final bevel angle, take it through stones up to a fine finish and strop it. I discuss this in more detail in another blog post.
The time
A straightforward knife in a single steel, nothing too complex, takes about three to four weekends of hands on work, because heat treat and handle epoxy both need time.
A damascus knife, cu-mai or even san mai with a complex construction takes longer, sometimes significantly. A set of knives is not simply two or three times a single knife, because the setup time gets spread over more knives.
If you want to commission something, the commission page is the place to start. My shop has examples of finished work across different steels and styles.