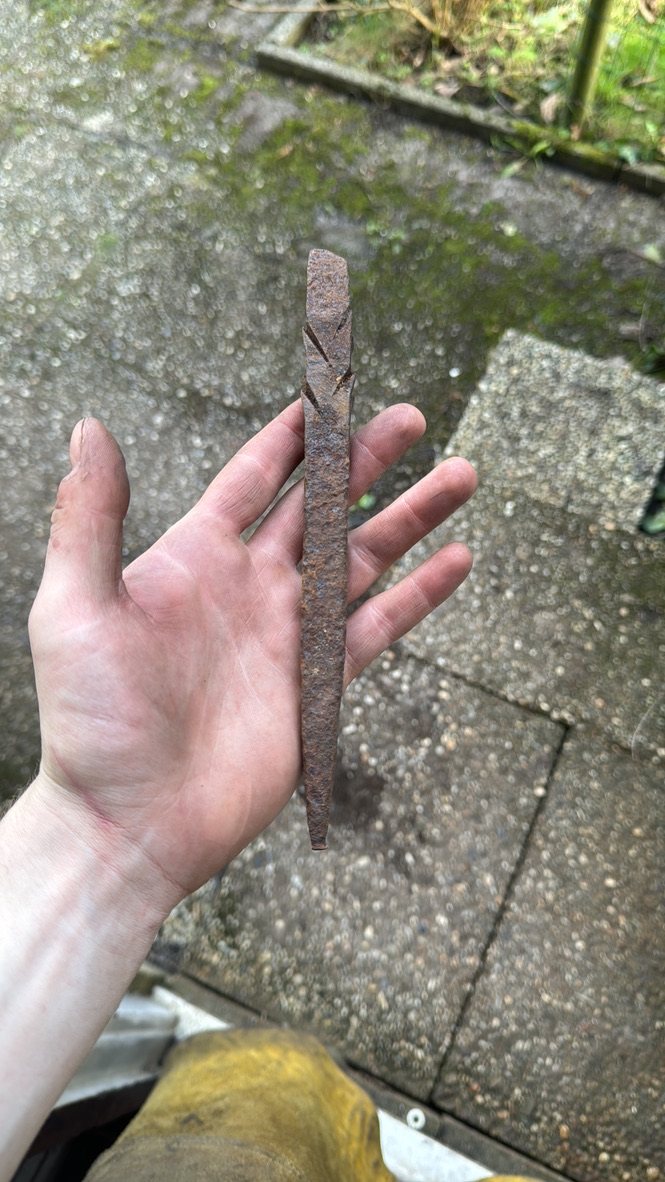
Working with wrought iron has become one of my favorite challenges. From the fibrous texture to its historical charm, there’s something uniquely satisfying about turning old scrap into new tools and blades. Recently, I’ve been experimenting with farm pins, wall anchors, and various discarded wrought iron pieces, transforming them into knife blanks and even integrating them into san mai billets (three layers: a hard steel core between two layers of softer metal). Here’s a look at my process, lessons learned, and the wrought iron both raw and finished.
Ferrous Chemistry 101: Why Wrought Iron Stands Out
Wrought iron’s unique properties come down to its ultra-low carbon content (often under 0.08%) combined with a notable amount of silica (slag). In other words, it’s loaded with tiny slag fibers that give it a “wood-grain” appearance when etched or corroded. This fibrous structure provides:

Greater Resistance to Rust
Compared to higher-carbon steels, wrought iron’s low carbon content means it doesn’t rust as quickly.
Easier Forge-Welding
Under the right heat conditions, wrought iron welds nicely, but you can burn it if you’re not careful.
A Tendency to “Tear”
If overheated or hammered too aggressively, the fibrous layers can separate, ruining the piece.
Unlike mild steel (0.05 to 0.25% carbon), wrought iron cannot really harden on its own. Historically, blacksmiths would forge-weld a steel edge onto a wrought iron body to give tools a tough, fibrous wrought iron body and a harder, more durable cutting surface.
From Scrap to Stock
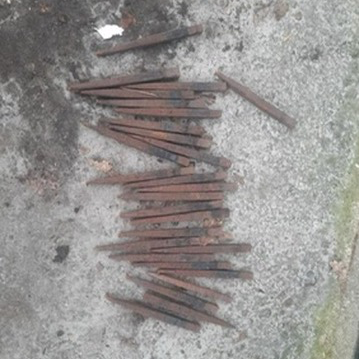
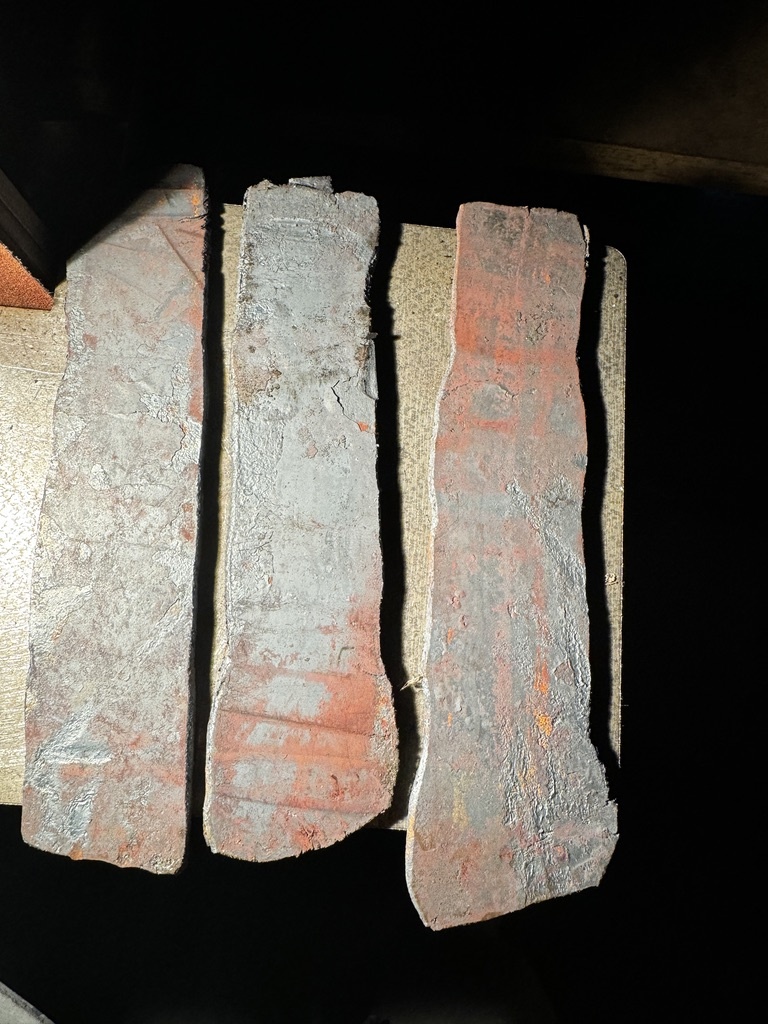
I started by gathering a collection of wrought iron odds and ends, including farm equipment pins, wall anchors, and other reclaimed bars. Although heavily rusted, these pieces hold a lot of potential. After a quick spark test or mild etch, you can see telltale signs of wrought iron’s fibrous nature.
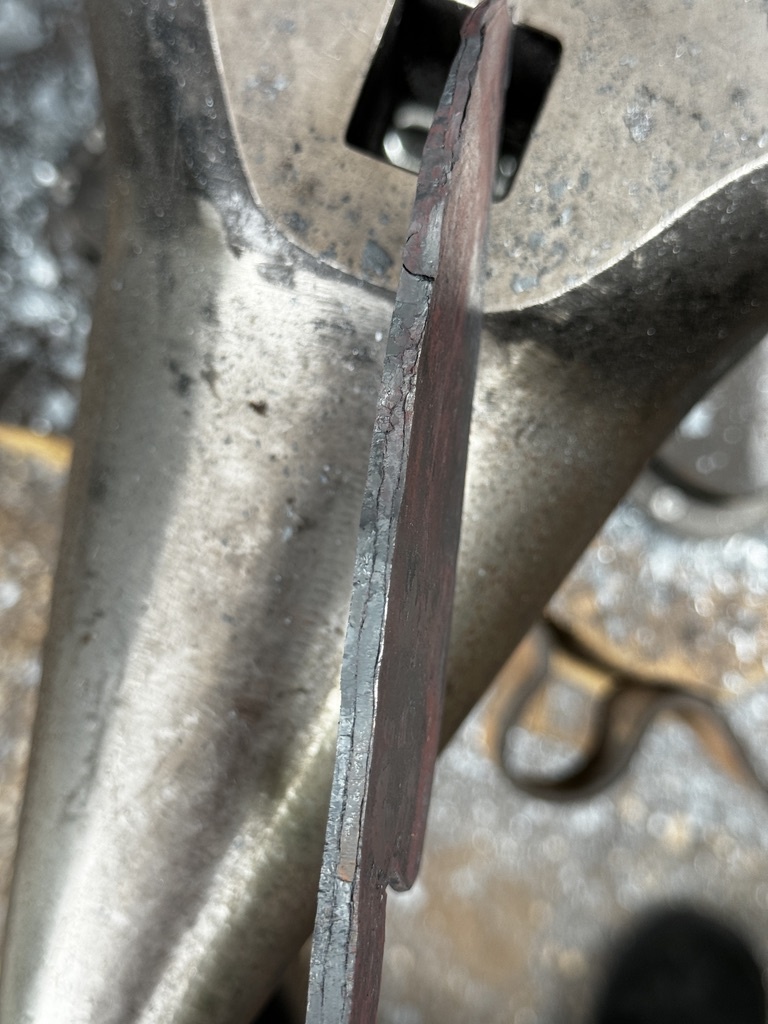
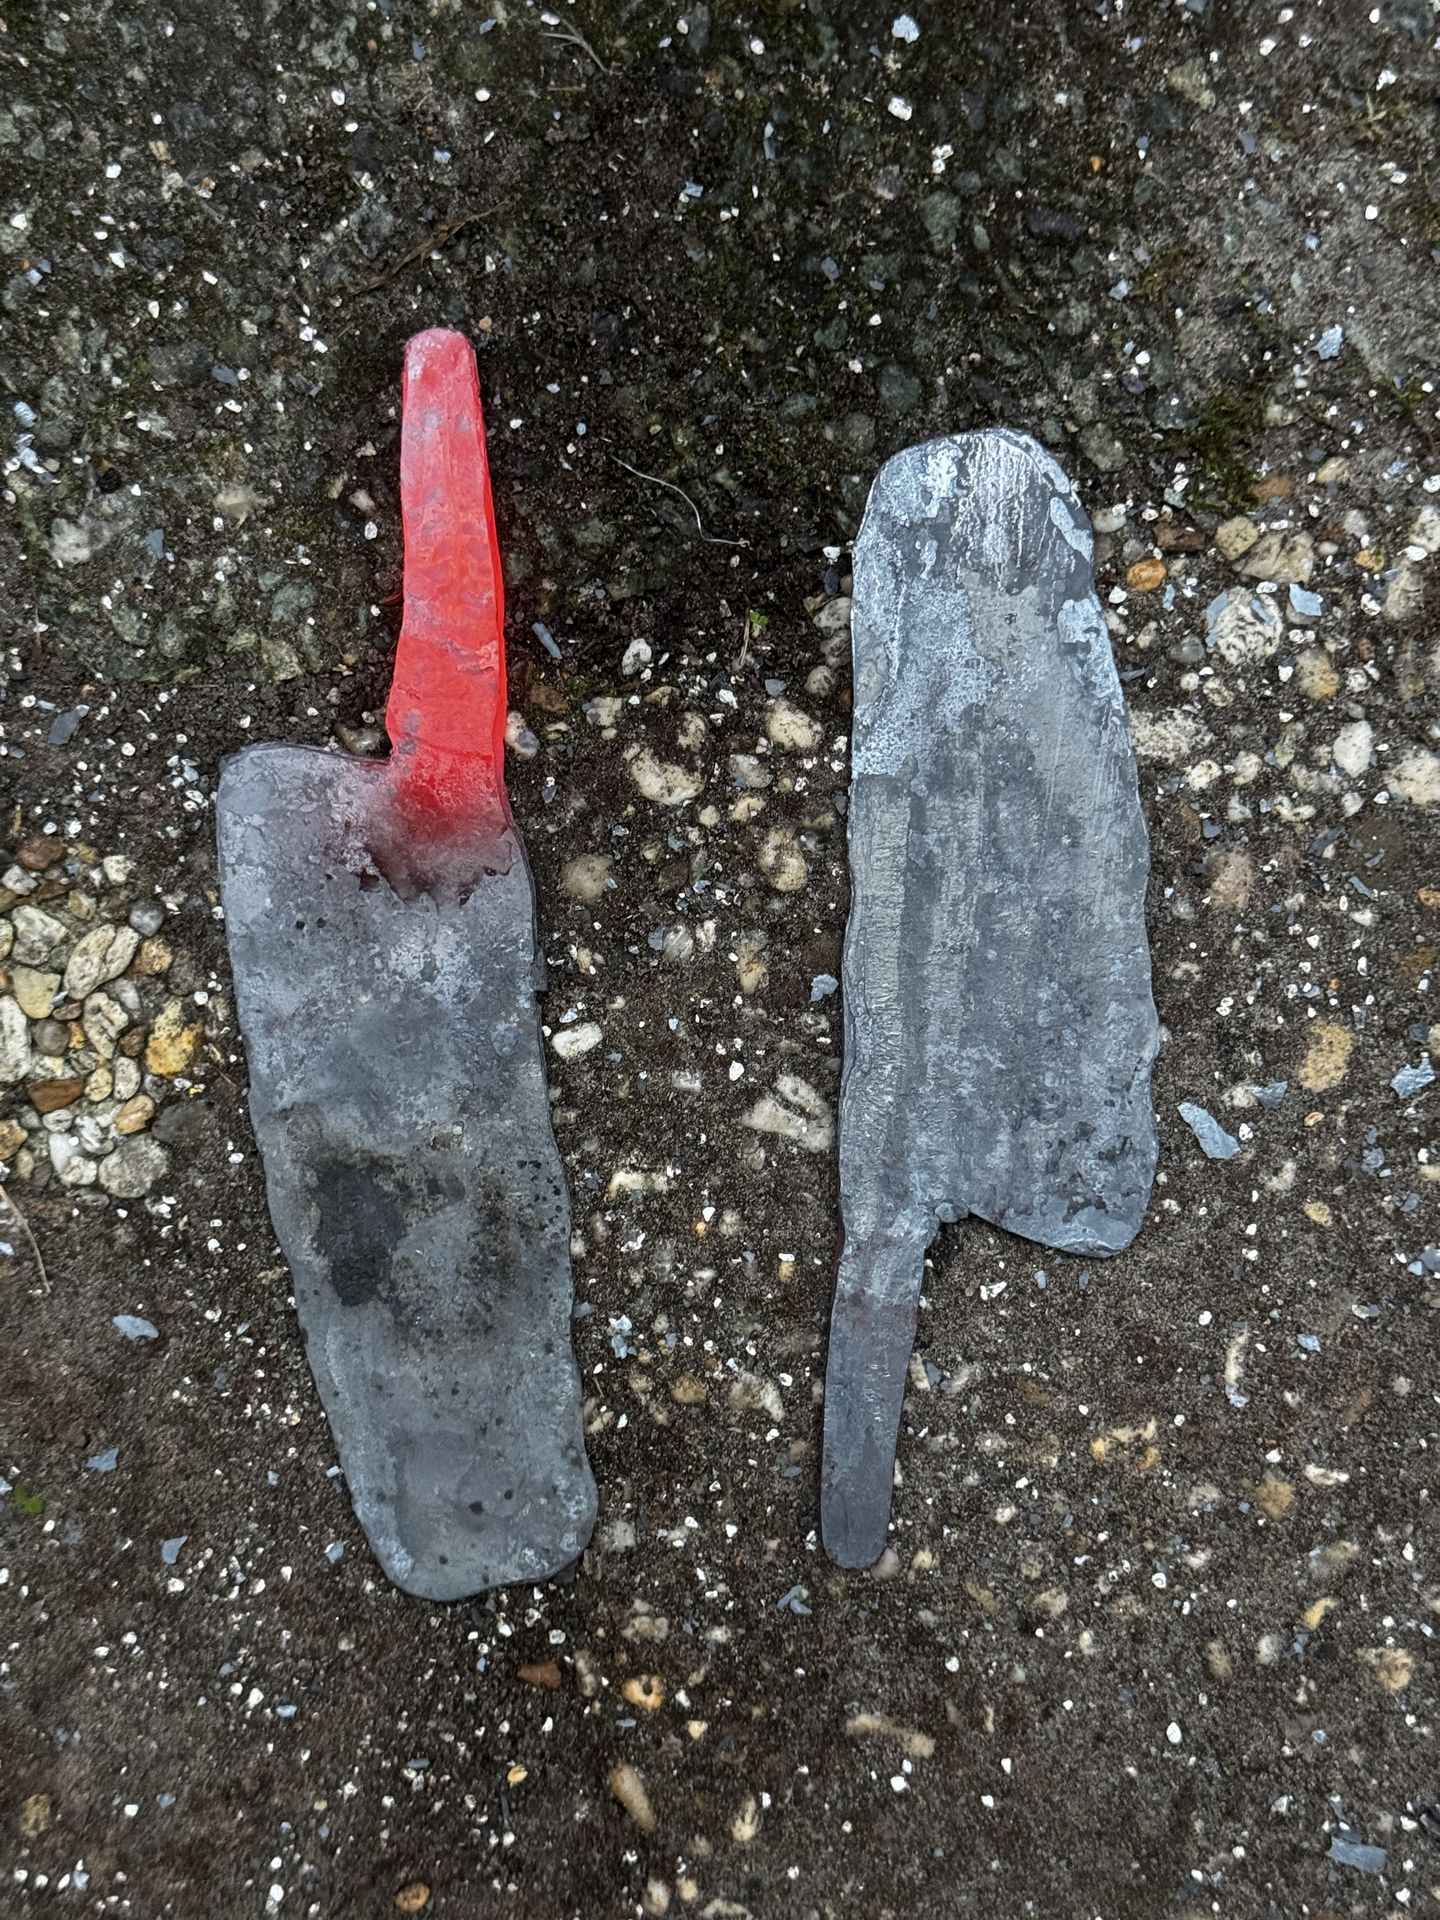
Drawing Out the Tang
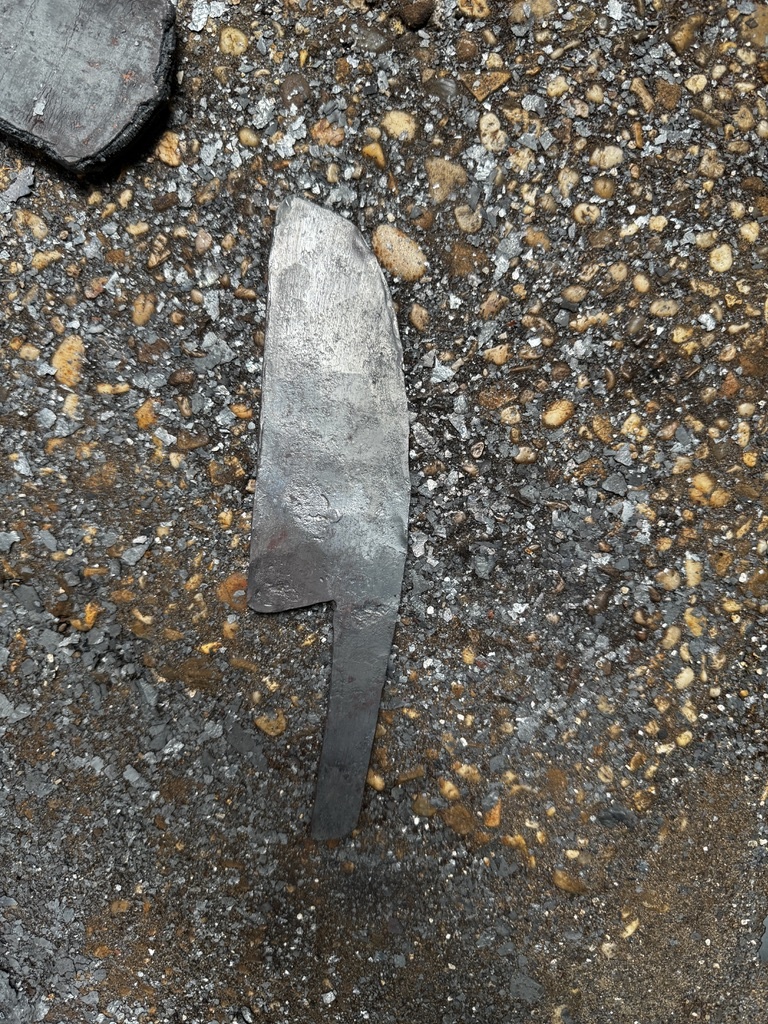
I isolate the tang section first, then draw it out. Wrought iron moves well under the hammer but can tear if I get too aggressive with temperature or force.
Cleaning and prepping
The first step in working with wrought iron is descaling and surface prep. I often soak these rusted bits in vinegar to break down surface corrosion, then give them a thorough scrubbing with a wire wheel. If I’m planning to do any forge welding (like san mai), I grind down one face to clean, bright metal. This helps ensure a reliable weld later on.
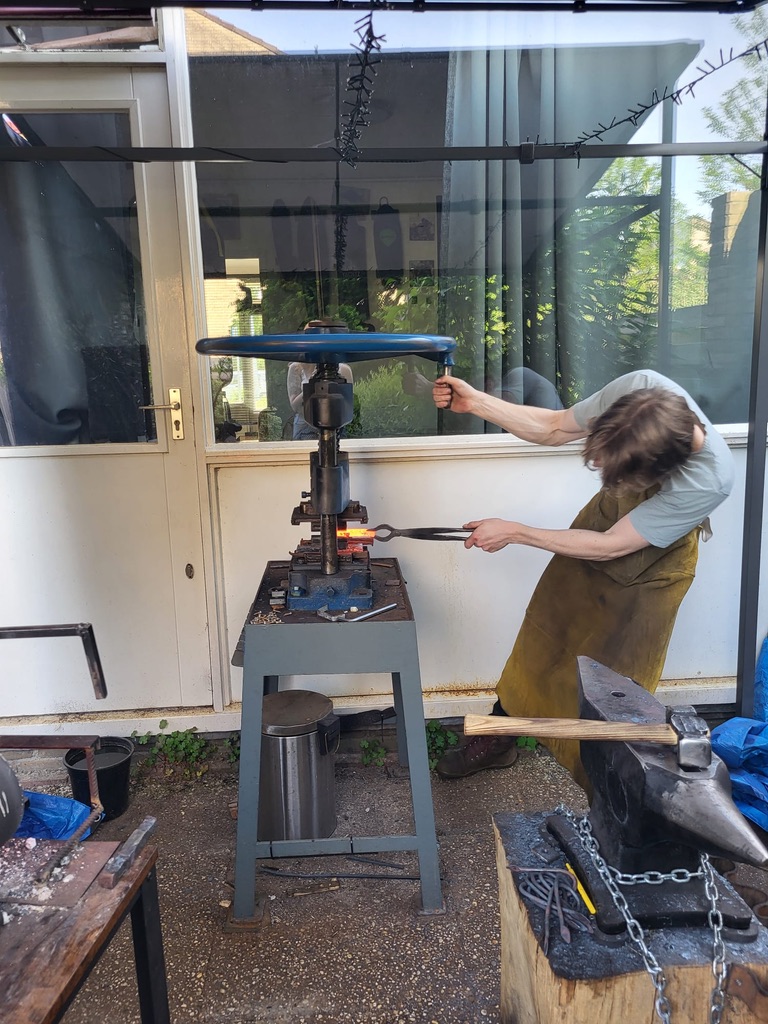
Etching to Reveal the “Grain”
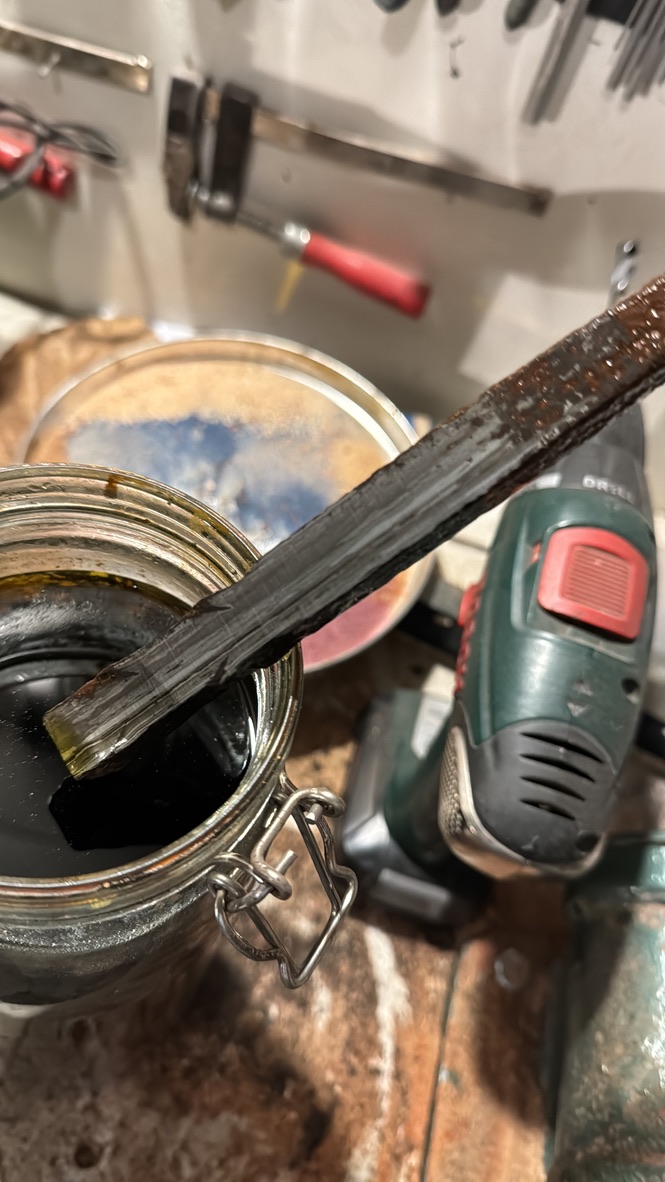
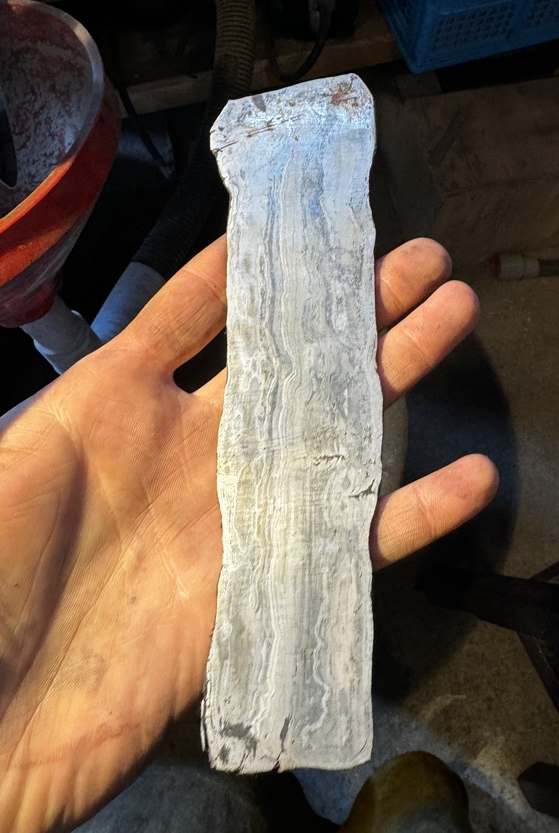
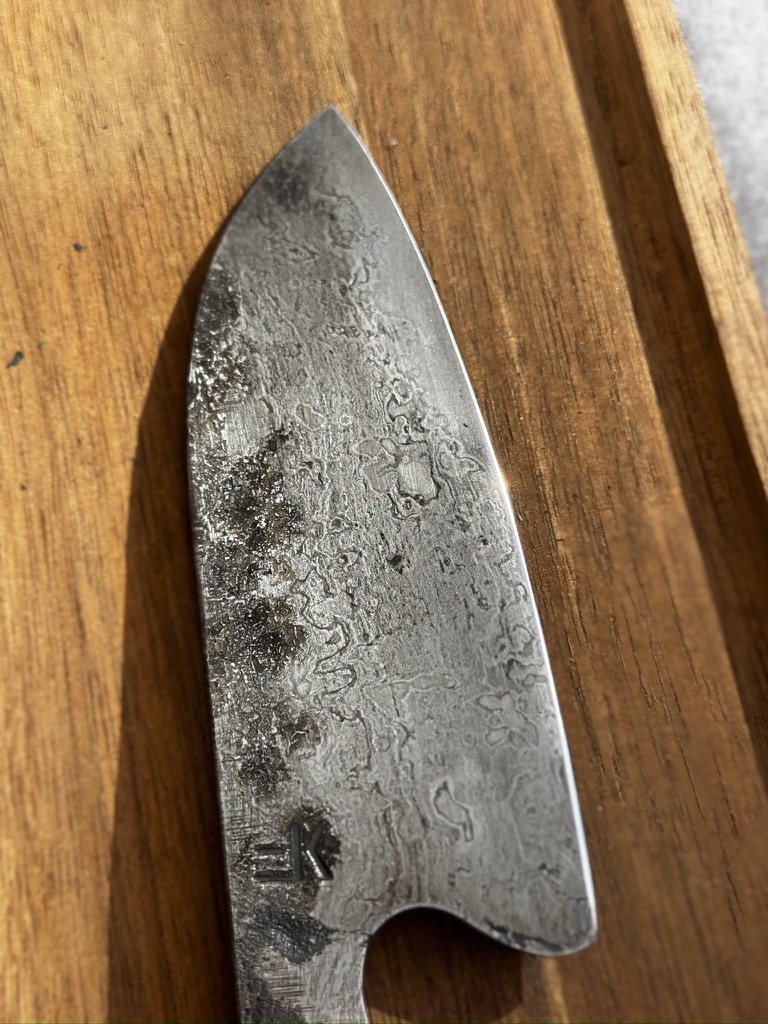
To confirm that these pieces are wrought iron, and to show that famous “wood-grain” pattern, I do a quick ferric chloride etch after grinding the surface. The slag inclusions etch at a different rate than the iron, creating wavy lines.
Finished Blades & San Mai Potential
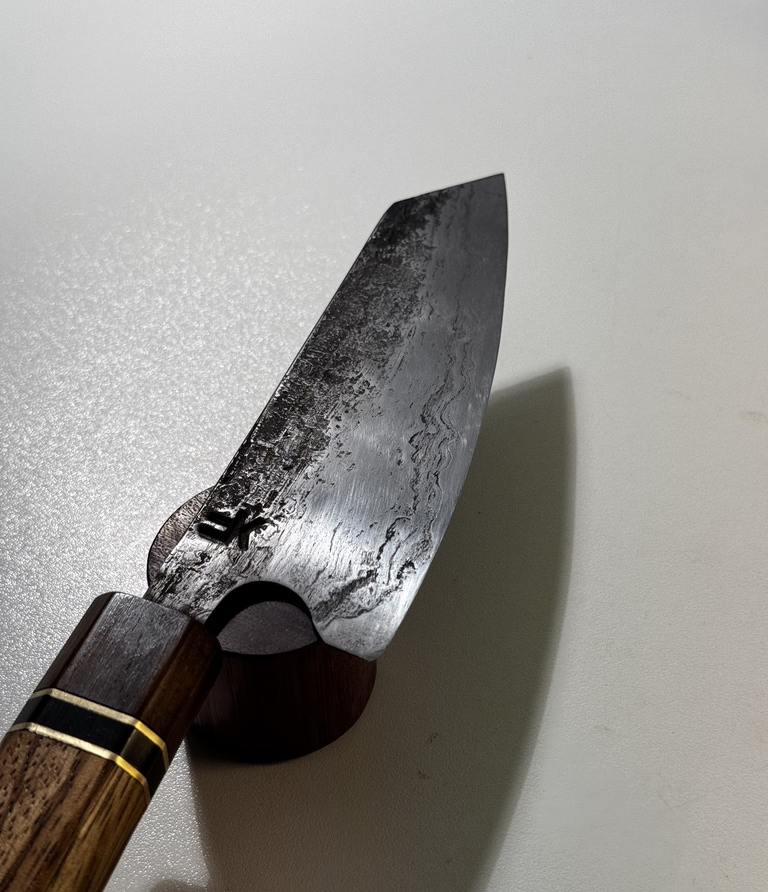
While wrought iron itself won’t hold a razor edge for long (it’s too low in carbon to be hardened), it makes a good cladding in san mai billets. The contrast between a hardened steel core and the fibrous wrought iron faces shows clearly. That said, I’ve also made a few full-wrought knives with a separate steel edge forge-welded on, which blends modern function with an old-world look.
Shaping the Blade
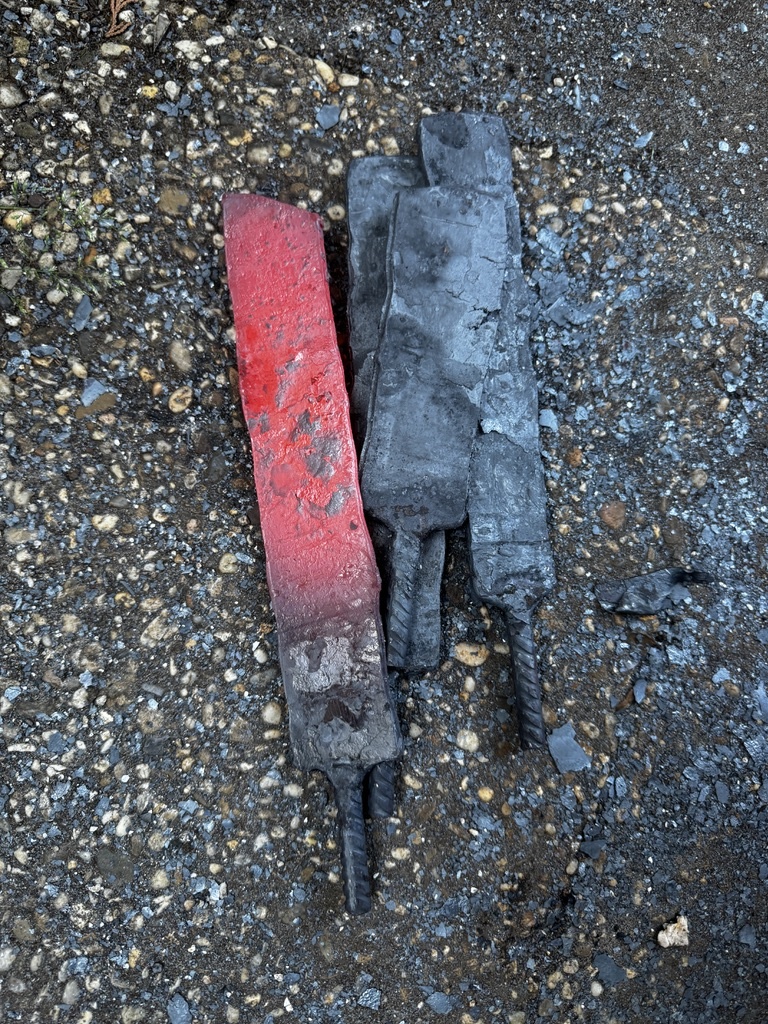
After the tang, I move on to the main blade, flattening and forming the rough profile. In some photos, you’ll see the hammered surfaces still covered in scale. Wrought iron produces thick scale due to its silica content, so I knock it off frequently. Here in the image below, it did not go so well. Wrought iron is much softer than the 80CrV2 core, and therefore the forging resulted in an uneven layered billet.
Forging the Blanks
Once prepped, it’s time to hit the forge. Wrought iron behaves differently than mild steel: it heats up faster and can burn or crumble at a lower temperature. I aim for orange to light-yellow heats, gently shaping each piece into a rough blade profile.
So in the end, why work with wrought iron?
Every piece of wrought iron you salvage has a past life, whether it was part of farm machinery, a ship anchor, or a building support.
The etched “wood-grain” texture is hard to replicate with standard steels.
Wrought iron forces you to be mindful of temperature control and hammer technique, which is a good way to improve your blacksmithing skills.
(All photos in this post are from my own workshop adventures. Thanks for reading, and happy forging!)